Hey robots, In this blog you will be learning how you can build your own Arduino spy bug. Audio spy bugs are tiny devices used to record audio data.
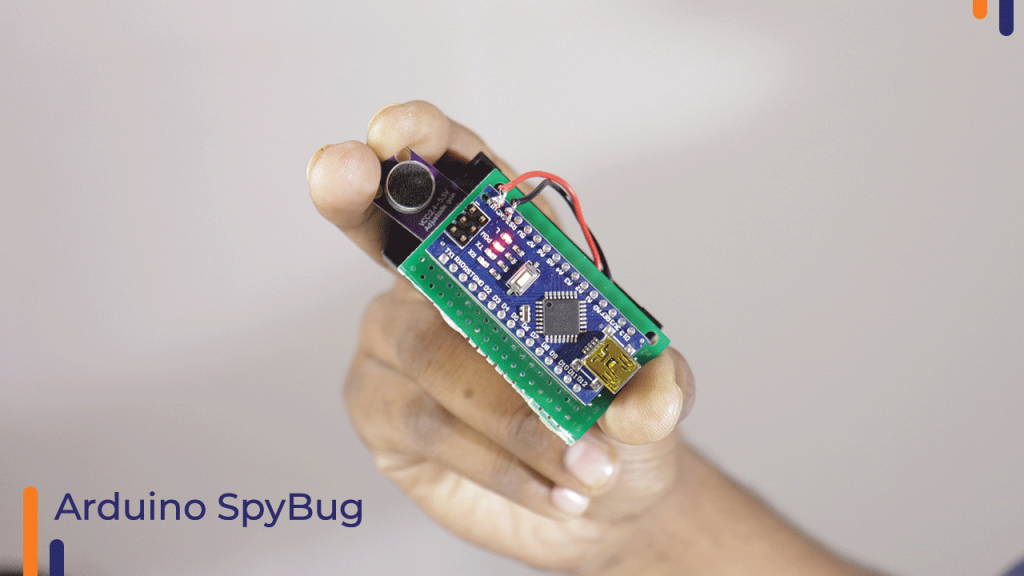
The output of this project will look something similar to the image shown below. Make sure to read this blog till the end to learn how to build this awesome project.

The main components used in this project are:
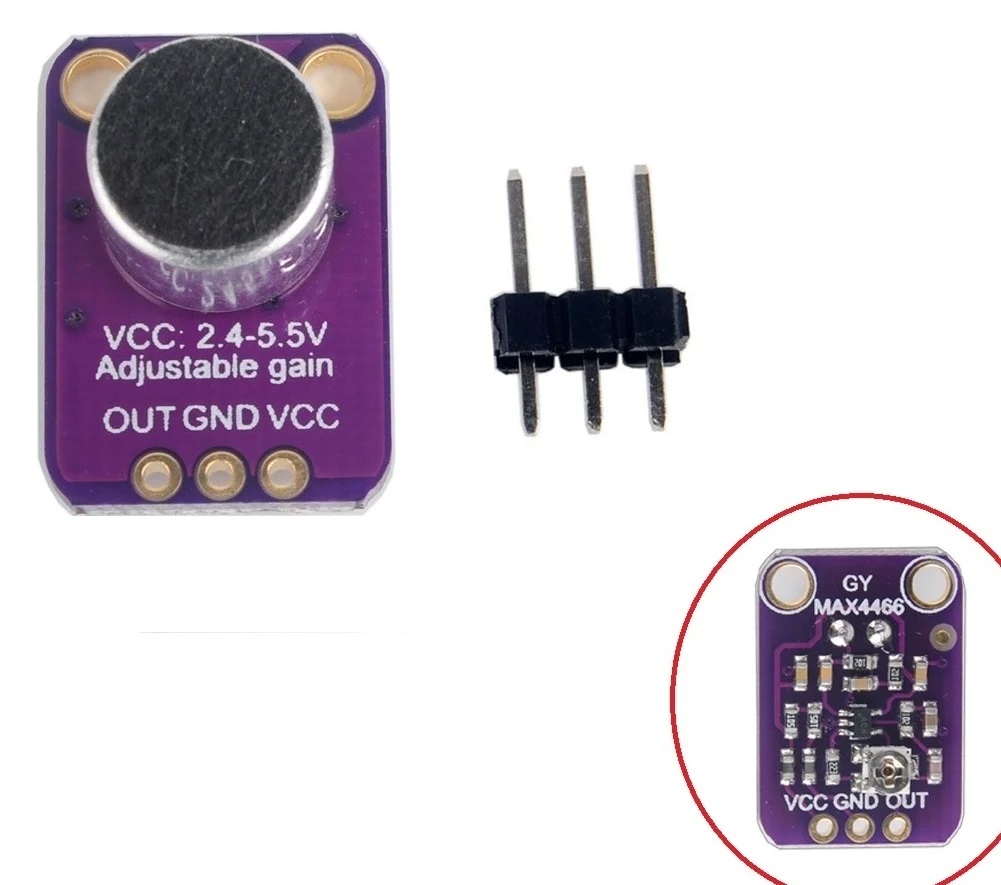
1. Electret Microphone Amplifier with Adjustable Gain :
In our project, we have used a max4466 microphone which comes with adjustable gain, you can go with max9814 too which comes with automatic gain control. the microphone will be used to sense and record the audio data which will be then further sent to Arduino nano.
2. Arduino nano:
Arduino nano will take the input received from the microphone and then store it in the micro sd card at specific intervals when powered on. these intervals can be changed in the code as per your requirement.

This is where our recorded audio files will be stored in .wav format. Note that it is important for the SD card to be formatted in FAT32 format or it will not work.

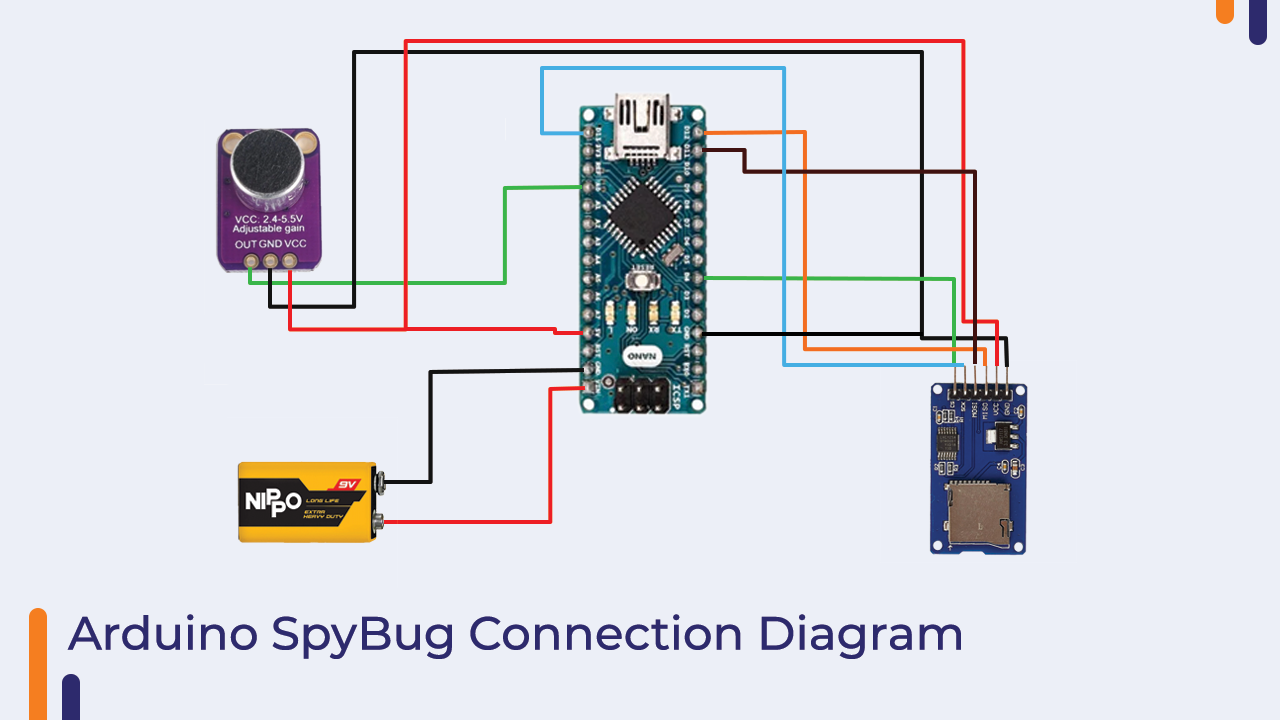
Now, when we’ve learned about the components, make sure to connect the components according to the diagram given below. You can connect any 7-12 V power supply to Arduino for an external power supply.
Just connect Vin and GND to the positive and negative terminals of the power source.
When this is done,you just need to upload you Arduino code. Download the TMRpcm library from here. This library is used for asynchronous playback of PCM/WAV files direct from SD card.
Go to Sketch >Include library> Add .zip library and add the TMRpcm file in your Arduino IDE.
Copy/paste this code into your Arduino IDE and hit the upload button.
#include <TMRpcm.h>
#include <SD.h>
#include <SPI.h>
TMRpcm audio;
int file_number = 0;
char filePrefixname[50] = "spy";
char exten[10] = ".wav";
const int recordLed = 2;
const int mic_pin = A0;
const int sample_rate = 84000;

#define SD_CSPin 4
// delay function for with serial log.

void wait_min(int mins) {
  int count = 0;
  int secs = mins * 60;
  while (1) {
    Serial.print('.');
    delay(1000);
    count++;
    if (count == secs) {
      count = 0;
      break;
    }
  }
  Serial.println();
  return ;
}
void setup() {
  // put your setup code here, to run once:
  //initialises the serial connection between the arduino and any connected serial device(e.g. computer, phone, raspberry pi...)
  Serial.begin(9600);
  //Sets up the pins
  pinMode(mic_pin, INPUT);
  pinMode(recordLed, OUTPUT);
  Serial.println("loading... SD card");
  if (!SD.begin(SD_CSPin)) {
    Serial.println("An Error has occurred while mounting SD");
  }
  while (!SD.begin(SD_CSPin)) {
    Serial.print(".");
    delay(500);
  }
  audio.CSPin = SD_CSPin;
}
void loop() {
  Serial.println("####################################################################################");
  char fileSlNum[20] = "";
  itoa(file_number, fileSlNum, 10);
  char file_name[50] = "";
  strcat(file_name, filePrefixname);
  strcat(file_name, fileSlNum);
  strcat(file_name, exten);
  Serial.print("New File Name: ");
  Serial.println(file_name);
  digitalWrite(recordLed, HIGH);
  audio.startRecording(file_name, sample_rate, mic_pin);
  Serial.println("startRecording ");
  // record audio for 2mins. means , in this loop process record 2mins of audio.
  // if you need more time duration recording audio then
  // pass higher value into the wait_min(int mins) function.
  wait_min(1);
  digitalWrite(recordLed, LOW);
  audio.stopRecording(file_name);
  Serial.println("stopRecording");
  file_number++;
  Serial.println("####################################################################################");
}
Now the spy bug can start recording audio. Note that after each minute of recording, Arduino will make a file of a different name and save it in the SD Card. You can change this period in the wait_for_min(1) function
You can refer to our youtube video to learn more.
Thank you for reading this blog.
Stay safe. Stay tuned at robu.in