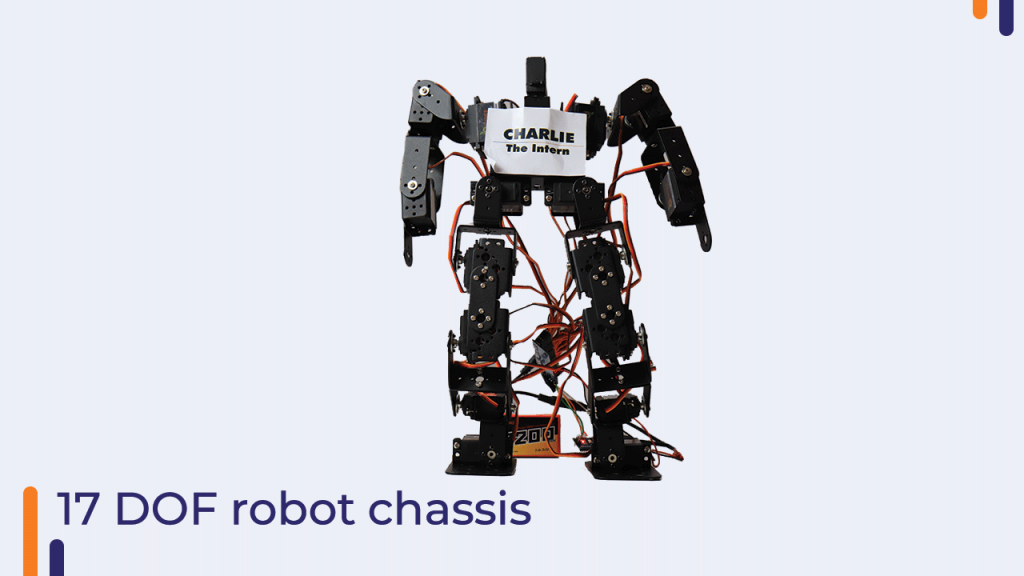
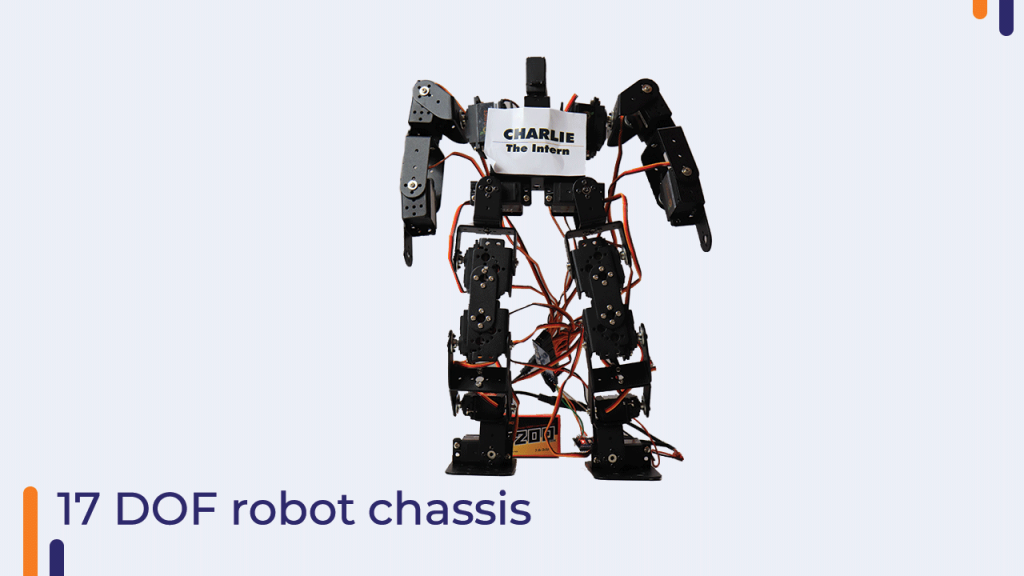
In this blog, we will be learning how to build a 17 DOF robot with its connection diagram. make sure to read the blog till the end to know-how. The output of the bot will look something like this.


Components used
- 17 DOF robot chassis:- This chassis was specially designed for the bot.The chassis comes with servomg995 motors.You can use those motors but they are a little jittery thus,I used orange 15kg servo motors.
2. Orange Servo motors:-The servo needed for control of the bot should be precise and heavy-duty.


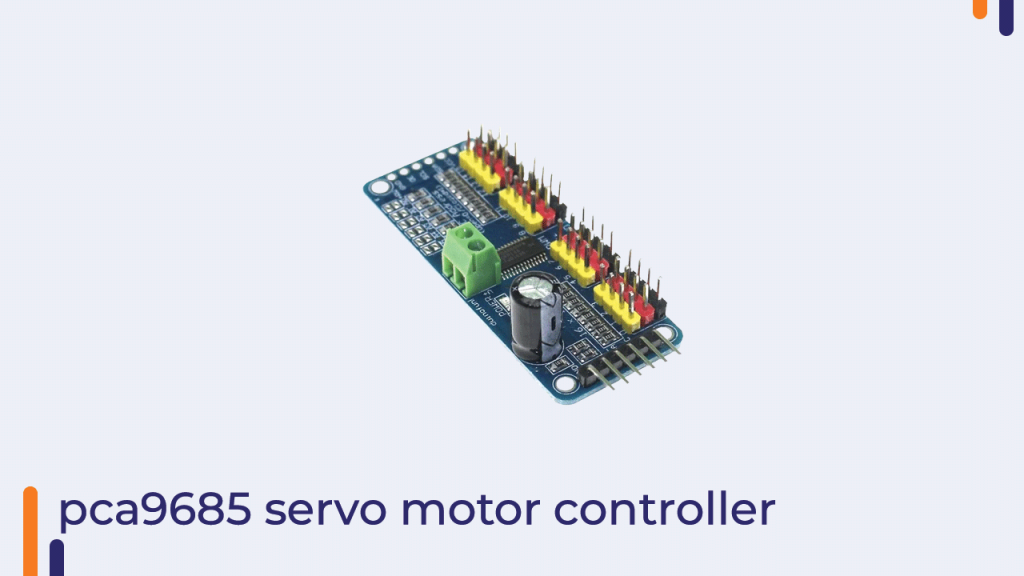
3. PCA9685 servo motor controller:- I was limited by the number of PWM pins on the nano board, so I added a pca9685 servo motor controller to attach up to 16 servo motors. This servo controller communicates with the nano board with the help of the I2C protocol. The 17th motor was given signal by one of the Arduino pins.


4. Arduino nano:-This was the central brain of the bot from where the signals were given. Initially, I thought of giving power to servo motors from Arduino by attaching lithium-ion batteries to the Vin terminal(Dumb me!!). but later, I created a separate railing for the servos. I was scared that the servos will not be able to handle the voltage, but they did.


5. Orange li-ion battery:-This was our main power source. You can also use a lipo battery. both works as charms.


Chassis assembly
The chassis assembly can be done using the manual which can be found on our website.
Connection diagram
Note that the power to the 17th motor was given by connecting Vcc and Gnd directly to the servo. You can achieve that by soldering. the signal was taken from pin D3 of Arduino.


Code
Install the Arduino IDE and download the Adafruit PWM servo driver library from the manage library option under Sketch>Include library.
#include<Servo.h>
#include <Wire.h>
#include <Adafruit_PWMServoDriver.h>

Adafruit_PWMServoDriver pwm = Adafruit_PWMServoDriver();

Servo Myservo;

int pos0 = 102;
int pos180 = 512;

int LEFTLEG1 = 0;
int LEFTLEG2 = 1;
int LEFTLEG3 = 2;
int LEFTLEG4 = 3;
int LEFTLEG5 = 4;

int RIGHTLEG1 = 5;
int RIGHTLEG2 = 6;
int RIGHTLEG3 = 7;
int RIGHTLEG4 = 8;
int RIGHTLEG5 = 9;

int LEFTHAND1 = 12;
int LEFTHAND2 = 11;
int LEFTHAND3 = 10;
int RIGHTHAND1 = 15;
int RIGHTHAND2 = 14;
int RIGHTHAND3 = 13;

int HEAD = 16;


void setup()
{
  Serial.begin(9600);
  Serial.println("16 channel Servo test!");
  pwm.begin();
  pwm.setPWMFreq(50);
  Myservo.attach(3);

  delay(3000);
  initial_position();
  delay(3000);
}


void setServo(int servo, int angle) {
  int duty;
  duty = map(angle, 0, 180, pos0, pos180);
  pwm.setPWM(servo, 0, duty);
}

void initial_position() {
  setServo(RIGHTLEG4, 90);
  setServo(RIGHTLEG5, 90);
  setServo(LEFTHAND1, 90);
  setServo(LEFTHAND2, 90);
  setServo(LEFTHAND3, 90);
  setServo(RIGHTHAND1, 90);
  setServo(RIGHTHAND2, 90);
  setServo(RIGHTHAND3, 90);

  setServo(LEFTLEG1, 90);
  setServo(LEFTLEG2, 90);
  setServo(LEFTLEG3, 90);
  setServo(LEFTLEG4, 90);
  setServo(LEFTLEG5, 90);
  setServo(RIGHTLEG1, 90);
  setServo(RIGHTLEG2, 90);
  setServo(RIGHTLEG3, 90);
}

void walk() {
  for (int i = 0; i <= 20; i++) {

    setServo(LEFTLEG3, 90 + i);
    setServo(RIGHTLEG4, 90 + i);


    setServo(LEFTLEG4, 90 + i);
    setServo(RIGHTLEG3, 90 + i);

  }
  delay(1000);
  for (int i = 0; i <= 25; i++) {
    setServo(LEFTLEG3, 90 - i);
    setServo(RIGHTLEG4, 110 - i);


    setServo(LEFTLEG4, 90 - i);
    setServo(RIGHTLEG3, 110 - i);


  }

  delay(1000);


}


void pushups() {

  setServo(RIGHTHAND1, 180);
  setServo(LEFTHAND1, 0);
  delay(500);
  setServo(RIGHTHAND3, 180);
  setServo(LEFTHAND3, 0);
  delay(500);

  setServo(LEFTLEG2, 180);
  setServo(RIGHTLEG2, 0);
  for (int i = 0; i <= 90; i++) {
    setServo(RIGHTHAND3, 180 - i);
    setServo(LEFTHAND3, 0 + i);
    delay(50);


  }


}
void squats() {
  for (int i = 0; i <= 40; i++) {
    setServo(RIGHTLEG3, 90 - i);
    setServo(RIGHTLEG4, 90 - i);
    setServo(LEFTLEG3, 90 + i);
    setServo(LEFTLEG4, 90 + i);

    delay(50);
}
for (int i = 0; i <= 40; i++) {
    setServo(RIGHTLEG3, 50+i);
    setServo(RIGHTLEG4, 50+i);
    setServo(LEFTLEG3, 130-i);
    setServo(LEFTLEG4, 130-i);

    delay(50);

}
}


void loop() {

  pushups();
  squats();
  walk();


}
Thank you for reading the blog till the end. You can watch the whole video on our youtube channel.
Stay safe. Stay tuned.
